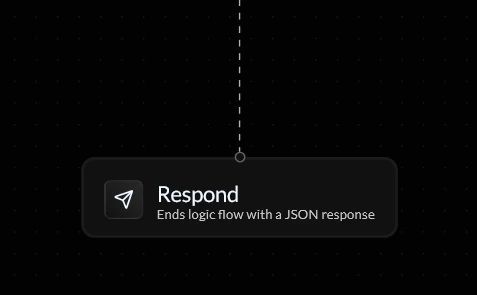
The Respond action ends your endpoint’s logic flow and returns a successful response to the caller with a custom JSON payload. It is typically placed as the final block in a flow, and lets you define exactly what data gets sent back — whether that’s a status code, a message, dynamic variables, or any other key-value pairs your integration requires.
JSON Response
The JSON Response section is where you build the payload that will be returned when your endpoint is called. Each entry consists of a key and a value, which together form a field in the returned JSON object.
You can add as many key-value pairs as your response requires by clicking + Add Key. Each key should be a unique string that identifies the field (e.g. success, status, message), and each value can be static text, a number, a boolean, or a dynamic variable pulled from earlier in your flow using curly braces (e.g. {current_time}).
| Component | Description |
|---|
| Key | The field name in the returned JSON object (e.g. status, message) |
| Value | The value for that field — can be static or a dynamic variable (e.g. {user_id}) |
| + Add Key | Adds a new key-value pair to the response payload |
| ✕ | Removes that key-value pair from the response |
Use dynamic variables (wrapped in {}) in your value fields to return data from earlier action blocks — for example, {current_time} or {user_email}. This makes your responses far more useful than returning hardcoded values.
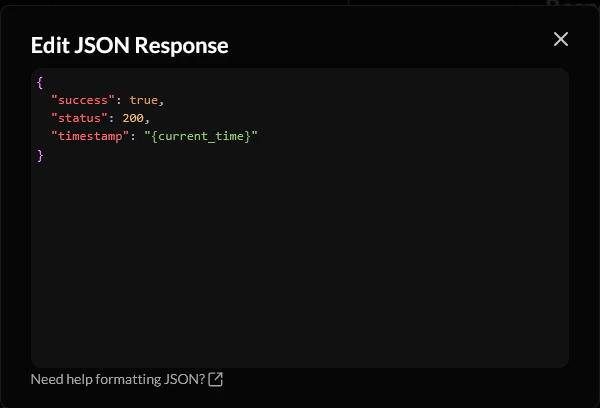
Advanced (JSON Editor)
Clicking Advanced opens a raw JSON editor where you can write your response payload directly instead of using the key-value fields. This is useful when you’re working with a more complex or nested JSON structure that’s easier to write by hand.
The editor displays your current payload as valid JSON and lets you edit it freely. Any changes made here will be reflected back in the key-value view.
If you’re unsure about your JSON syntax, use the Need help formatting JSON? link at the bottom of the editor — it’ll point you to a formatter tool.